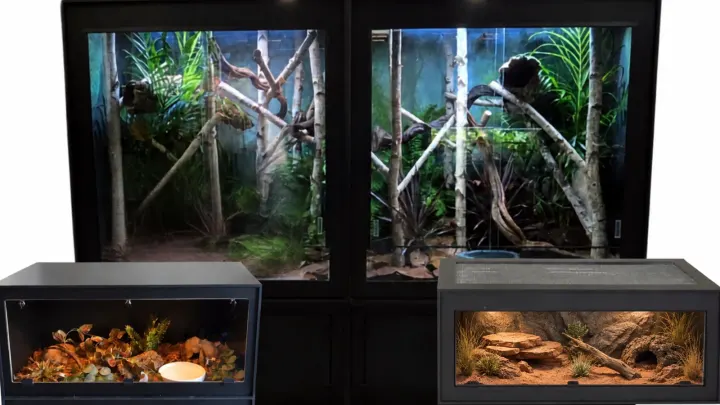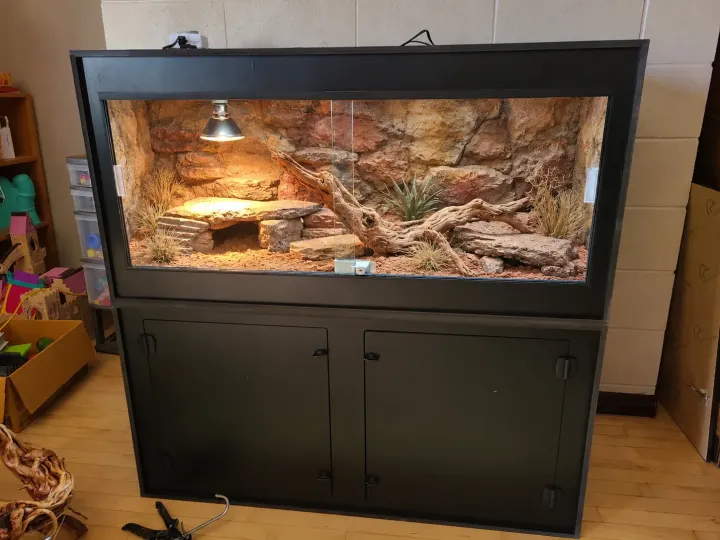
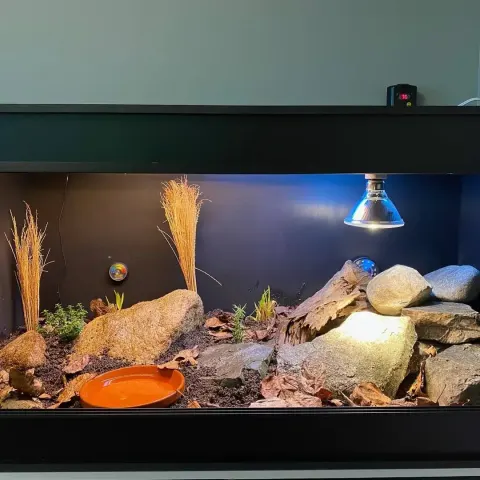
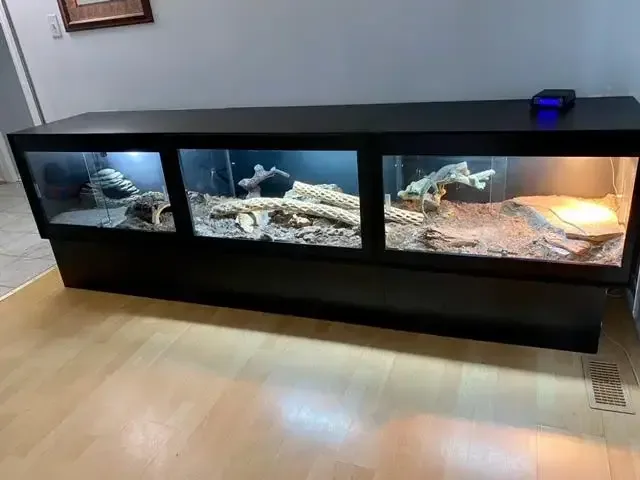
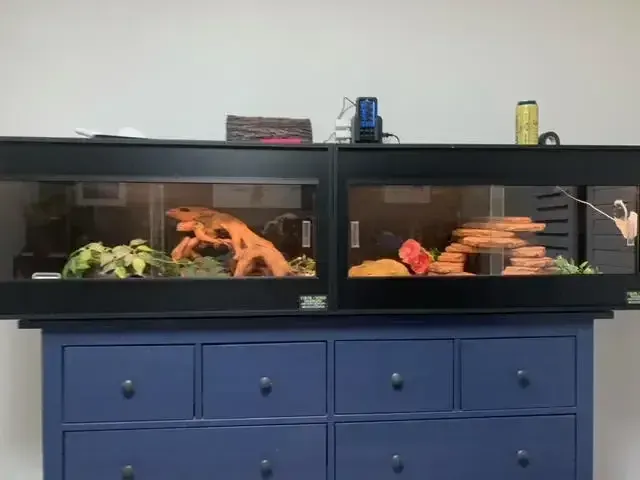
In this post we walk through how modular PVC caging works, using a boa constrictor as the example, and how you can expand in width, depth, or height while still using your original Cornel's World enclosure.
Why modular PVC caging makes sense
PVC enclosures lend themselves perfectly to modular builds. They are lightweight, stackable, and dimensionally consistent, so you can join units together without awkward gaps or transitions. For species like boa constrictors that grow steadily over several years, that is a huge advantage.
Cost-effective: keep using your original cage and add on when you need more space.
Space-efficient: start with what you need now, then expand instead of storing retired enclosures.
Customizable: add width, depth, or height to match your animal's growth and behaviour.
Future-proof: build a long-term housing plan instead of constantly replacing enclosures.
The starting point: a 3' x 2' x 2' boa enclosure
A very common starting size for a young boa constrictor is a 3' x 2' x 2' PVC enclosure. It's manageable, easy to heat, and gives a growing snake a comfortable amount of room. As your boa matures, you'll want to give it more floor space so it can stretch out fully.
With modular PVC caging, that 3' x 2' x 2' doesn't become obsolete. It becomes the first section of a larger build.
Step by step: expanding your enclosure
1. Order a second cage with matching height and depth
Start with a second enclosure of the same height and depth so the two cages line up perfectly. When you place the order, ask for:
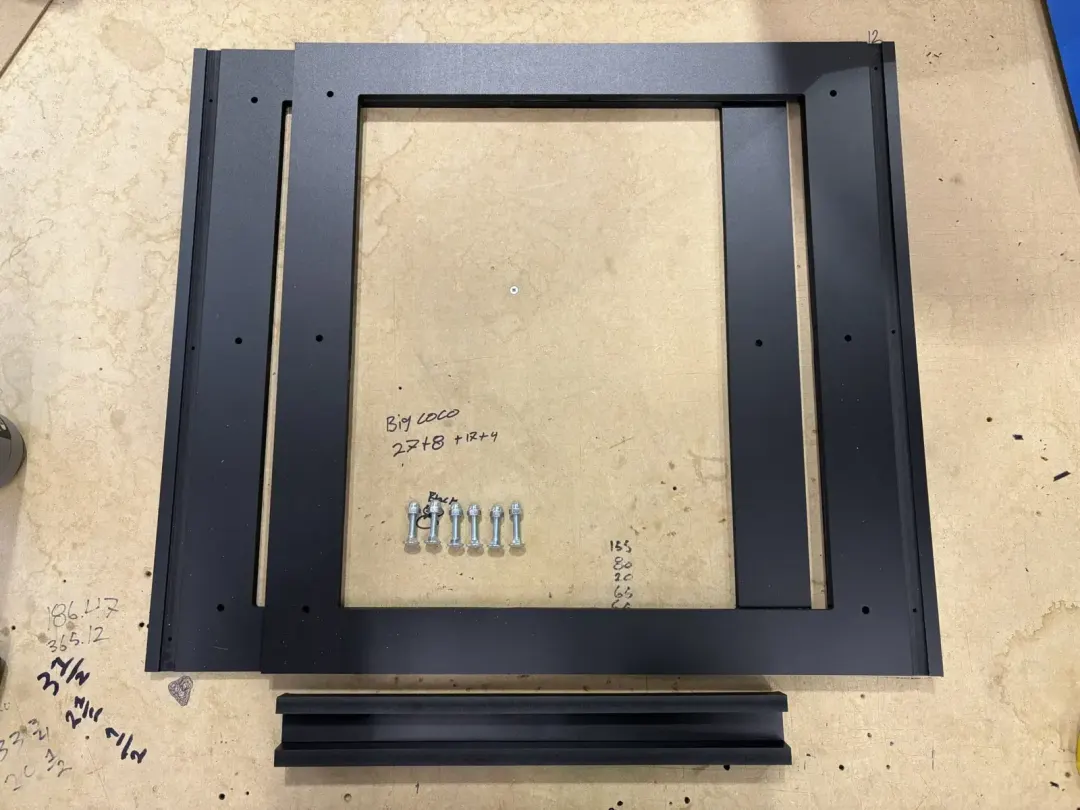
Two open sidewalls (cutout panels)
Joinery hardware for bolting the cages together
C-channel trim to finish the joint cleanly
2. Remove the solid sidewall from your existing cage
Take out the solid sidewall on the side where you want to expand and replace it with an open sidewall. That creates a clean opening without replacing the whole cage. The solid side on the opposite end stays as the finished end wall.
3. Install open sidewalls on both cages
Install one open sidewall on your existing cage and the other on the new enclosure, with both openings facing each other.
One open sidewall replaces the solid sidewall on your existing cage.
The second open sidewall goes on the new cage, facing inward.
That gives you a pair of aligned open sidewalls, ready to join into one continuous enclosure.
4. Bolt the two cages together
Bring the two enclosures together and bolt them with the joinery hardware. This stops them shifting and keeps the build stable.
5. Finish the seam with C-channel
Install C-channel over the joint. It:
Covers the seam
Protects exposed panel edges
Gives a clean, finished look
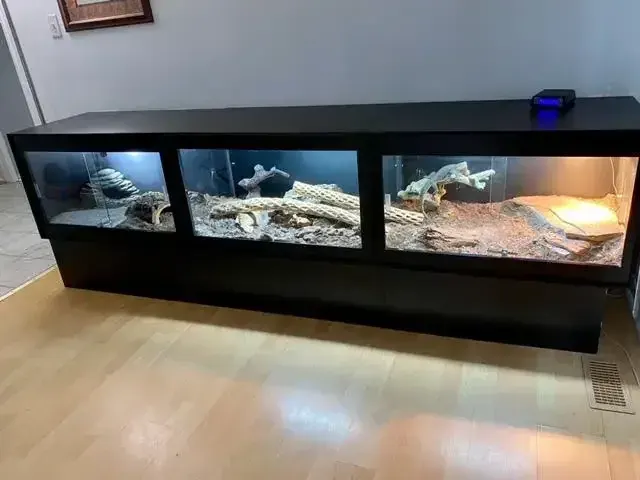
Your 3' x 2' x 2' is now a 6' x 2' x 2', or larger with more sections.
Grow in width, depth, or height
Expansion isn't limited to width. As long as panels share a common dimension, you can expand in nearly any direction:
Width: turn a 3' x 2' x 2' into a 6' x 2' x 2' or 8' x 2' x 2'.
Depth: join cages front to back for deeper setups.
Height: stack and join vertically for semi-arboreal or arboreal species.
That flexibility is perfect for keepers planning long-term, evolving habitats. For a worked example, see how to convert a 4x2x2 into an 8x2x2.
Planning a modular build with us
When you're planning future expansions, let us know. We'll help you choose:
Base enclosures that expand easily
The right mix of solid and open sidewalls
C-channel and joinery hardware
Lighting layouts that still work after expansion
Good places to start
Cornel's World
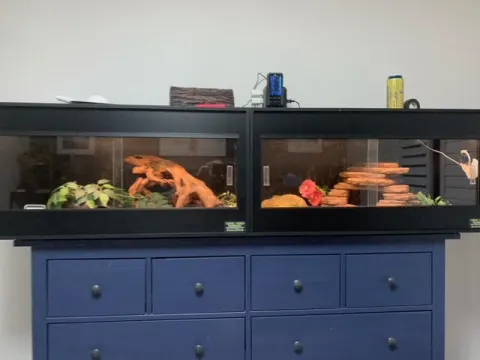
8' x 2' x 2' PVC Reptile Enclosure – Split or Full-Length PVC Cage
From $880.00
Made to order · 8 options
Cornel's World
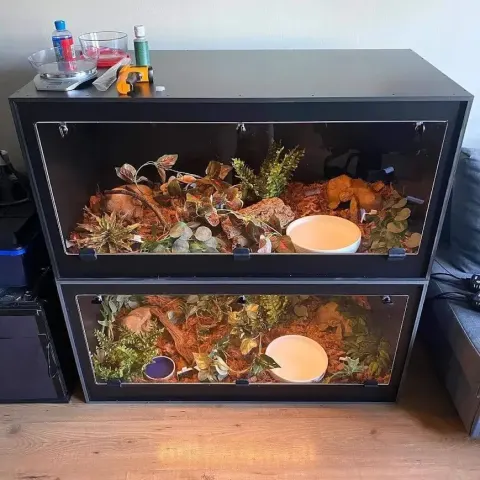
PVC Reptile Caging (3' x 2' x 2') Single Unit Model
From $370.00
Made to order · 8 options
Plan a modular PVC setup
Whether you're housing a young boa or designing a multi-section display, modular PVC caging lets you build once and expand smartly. Reach out to plan your system, or start with a single enclosure designed for future growth.