

Parts list
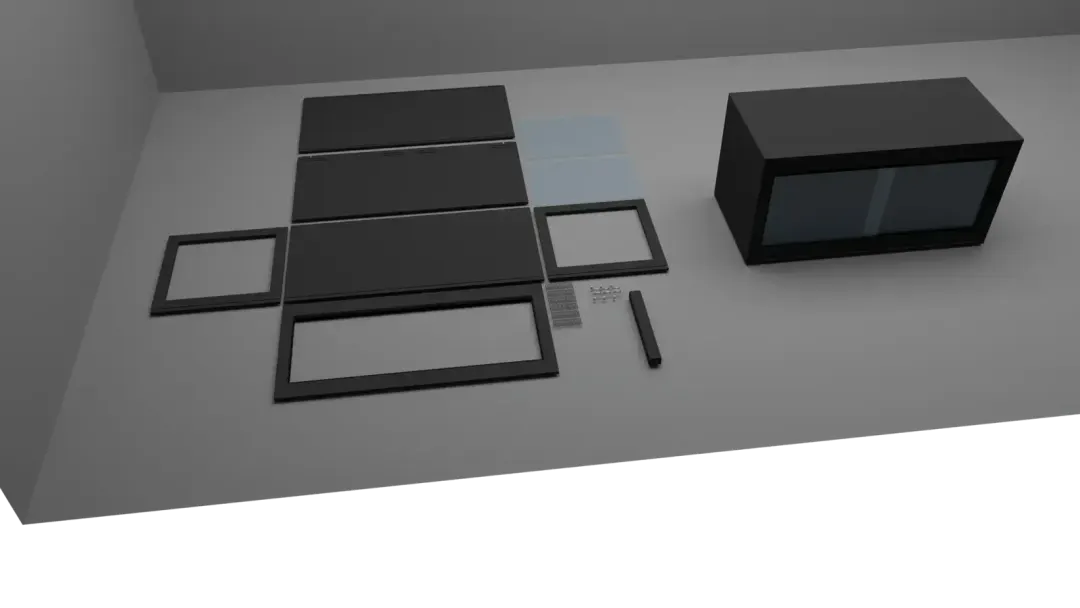
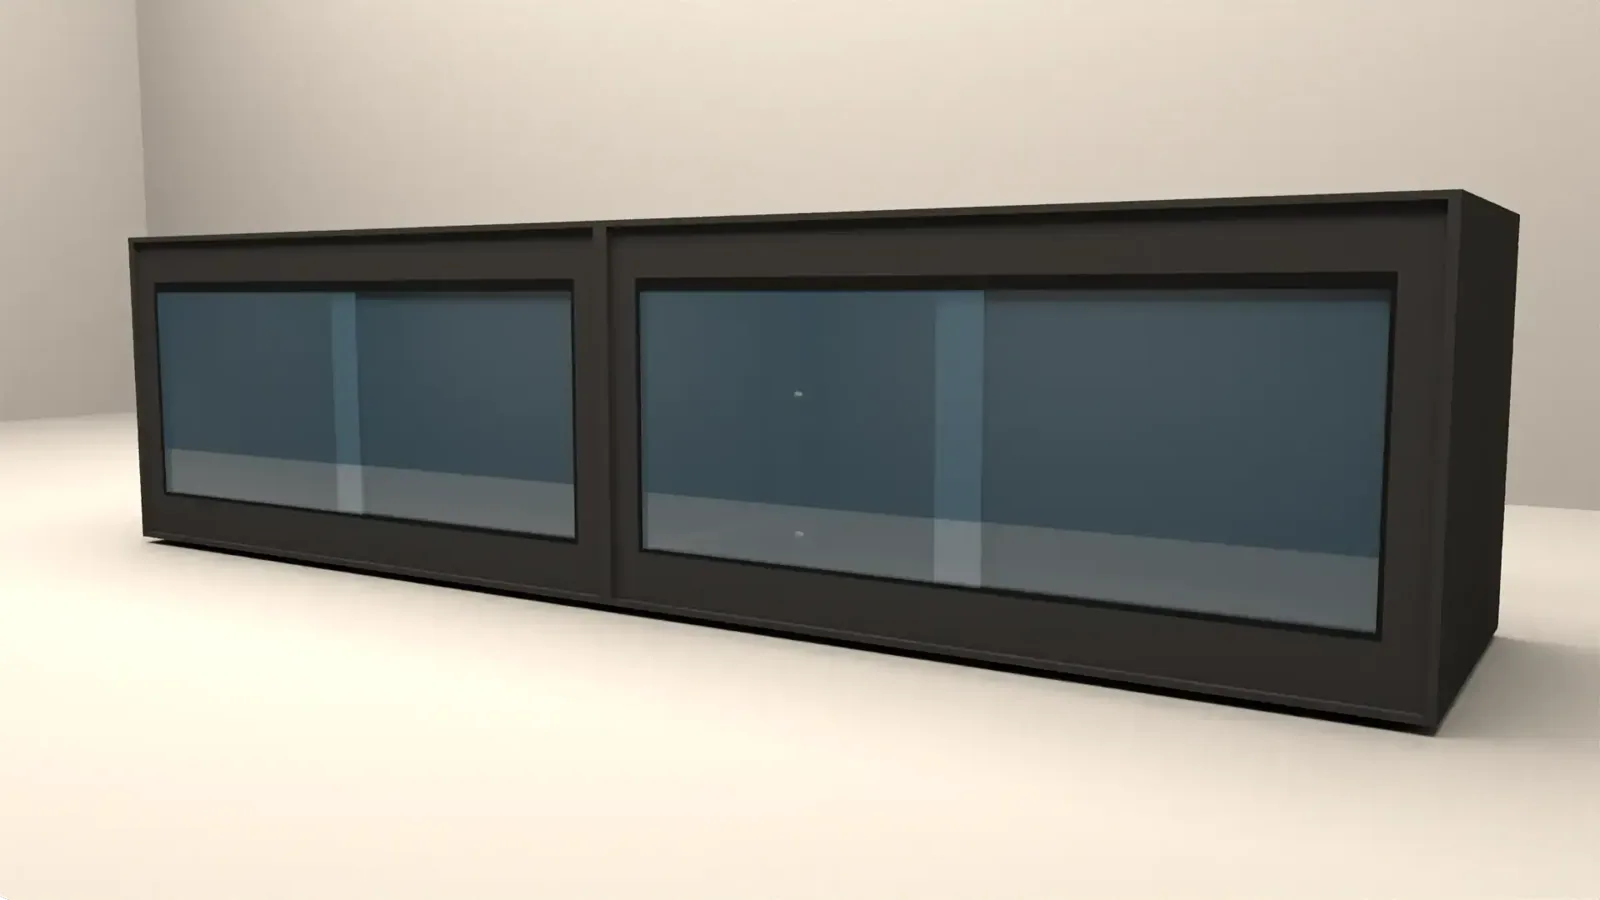
Here are all the parts for converting your existing 4' x 2' x 2' into an 8' x 2' x 2':
Top and bottom
2 open sidewalls
Sliding glass front
Back wall
2 glass doors
Finger pulls for adding to the doors
Screws for assembly
6 carriage bolts and acorn nuts
C channel
Step by step
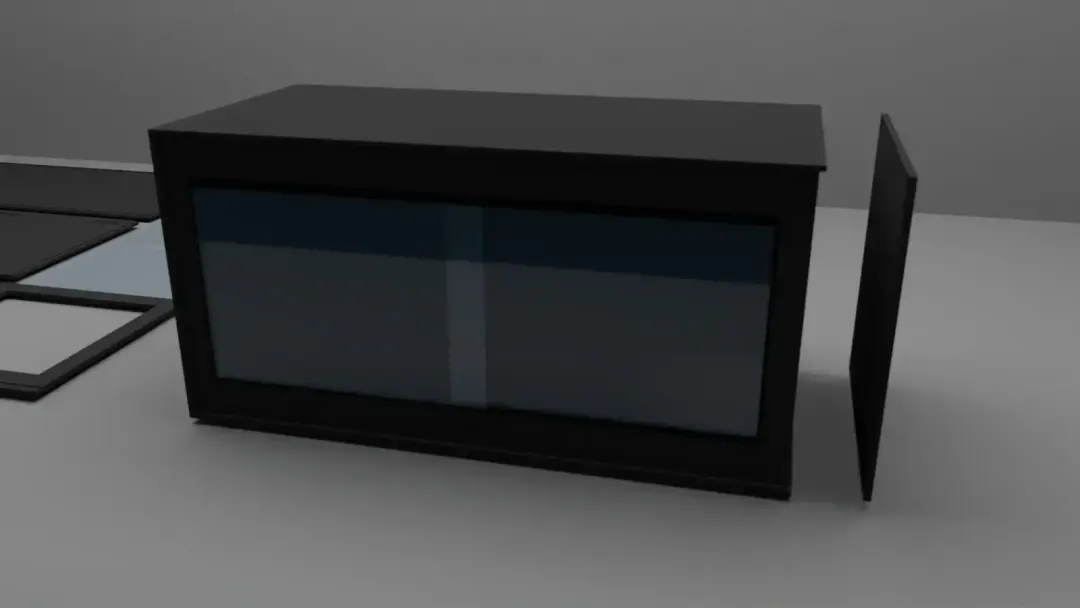
1. Remove a sidewall
First, remove one of the existing sidewalls. Take out the screws through the sidewall on the side, as well as the screws from the top, back, and bottom panels. If you have sealed the interior joints, once the screws are removed you will need to push from the inside to loosen the caulking. Once the panel is off, scrape away the existing caulking so you can reapply new caulking with the new panel.
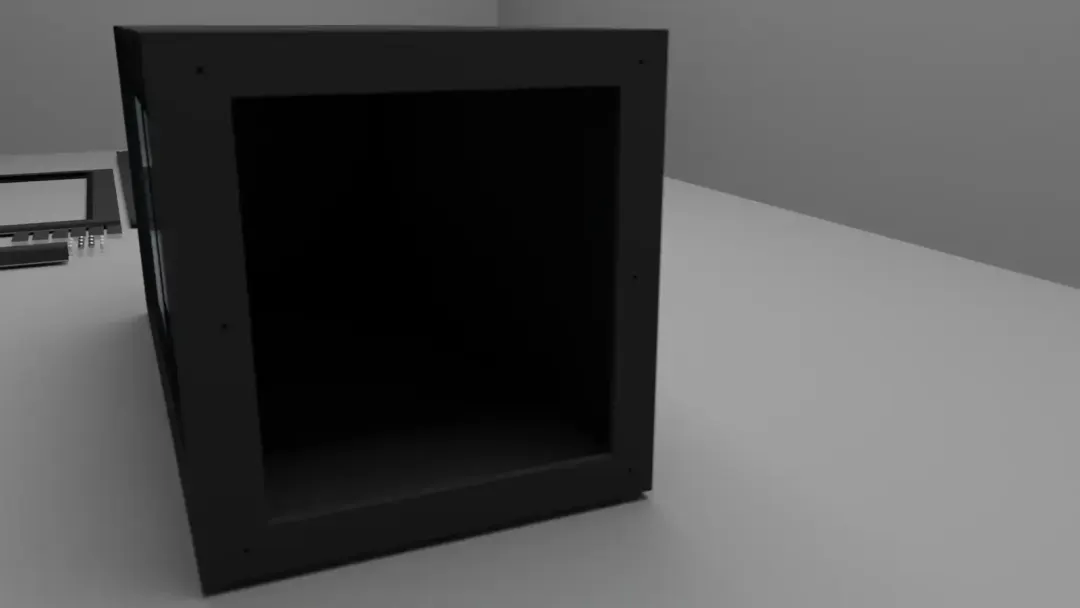
2. Install the new open sidewall
With the existing sidewall removed, and the silicone removed if required, you can install the new open sidewall. Both are the same and align either way, so either will work. Align the side edge and the front first. I recommend starting with the first screw at the front of the top panel and working your way back, adjusting as needed to keep the panel aligned with the edges of the existing panels.
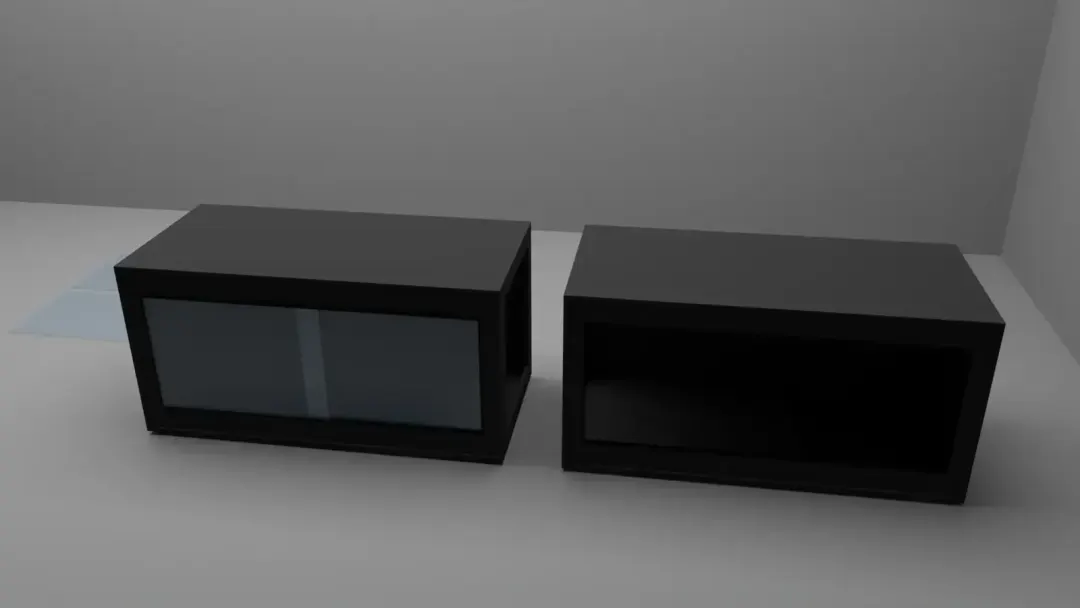
3. Build the new half cage
This part should be easy if you built your existing cage. Do it the same way, but install the open sidewall on the opposite side to your existing half cage so that the two open sidewalls can join together.
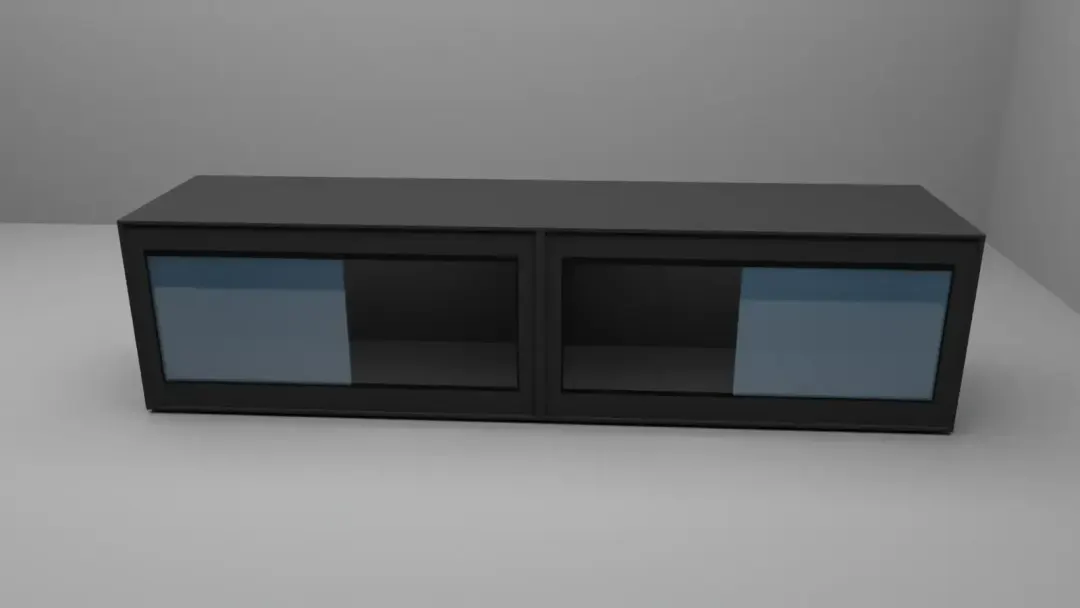
4. Push the two halves together
This step is easiest on a flat, level space, either a table or the floor. If you have trouble aligning them, you can stand one cage on its solid sidewall and put the other half on top with the open sidewall side down.
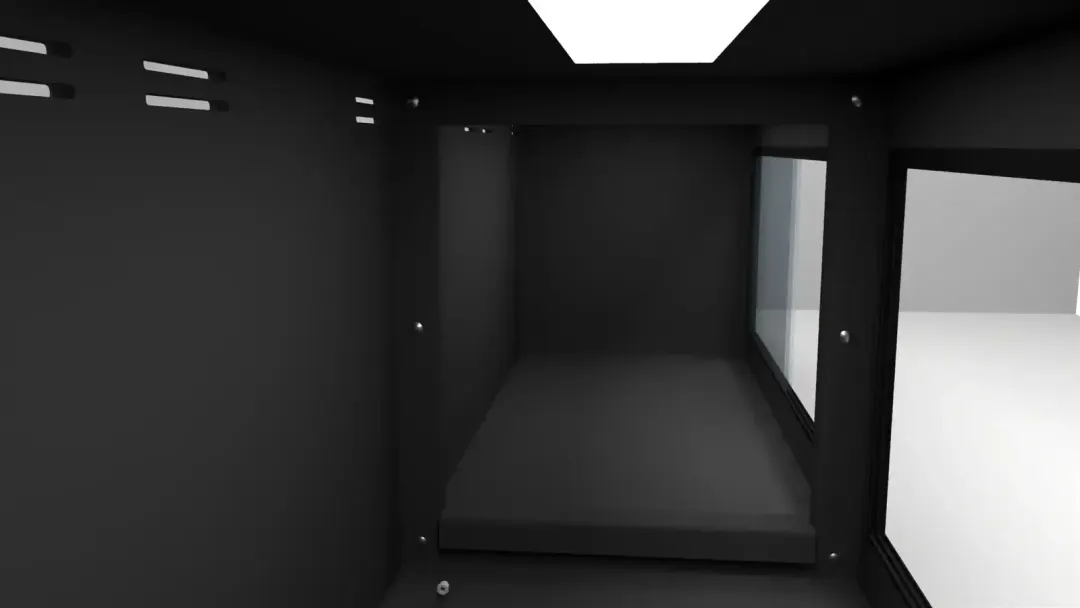
5. Push the carriage bolts through
The cages need to be properly aligned for the carriage bolts to pass through. If you are having trouble keeping them aligned, push one carriage bolt through one half cage with the other half pushed apart. With that bolt held in place, slide the other half onto the bolt and slide it together. You just need the carriage bolt 1/8" through the other side so you can thread the acorn nut and tighten the cages together.
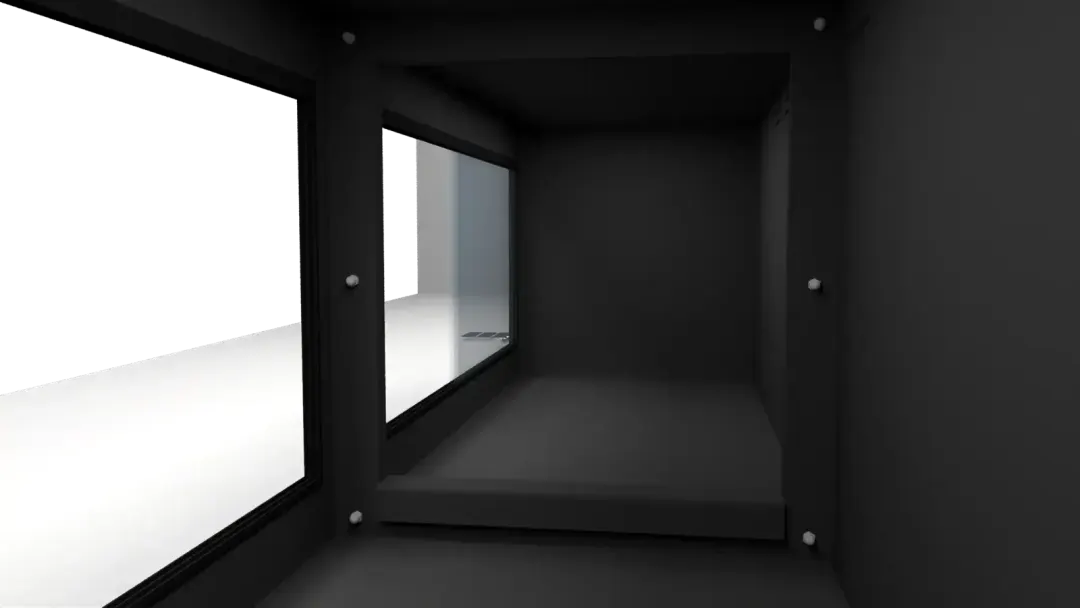
6. Tighten the acorn nuts
When tightening the acorn nuts, it helps to hold the front edges of the open sidewalls aligned while you tighten the nuts at the front. Once those are done, tighten the acorn nuts at the back.
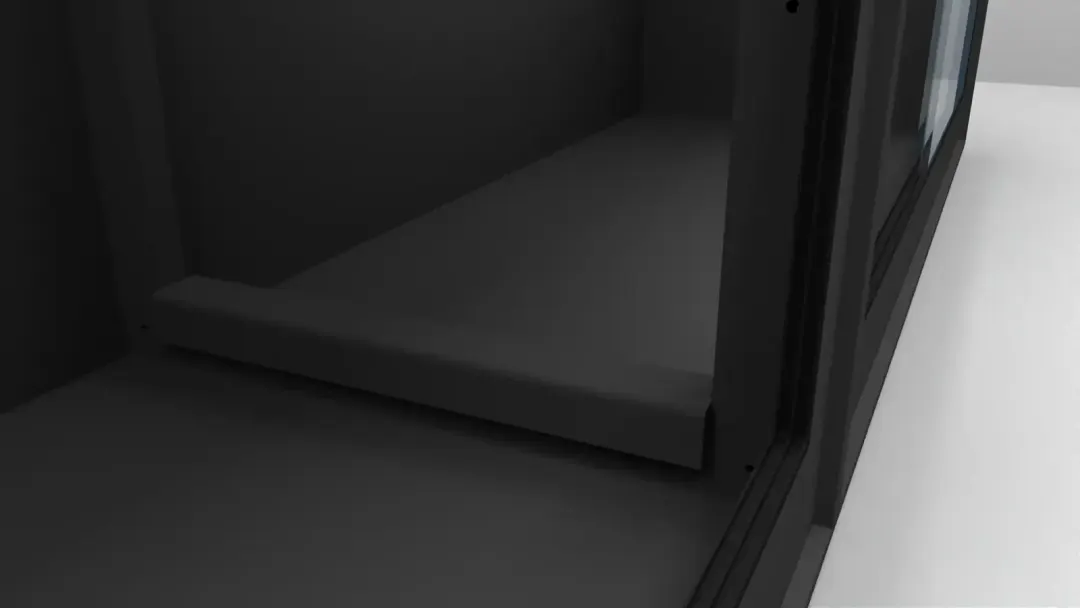
7. Apply the C channel
Once the cage halves are together, there is a bottom joint between them. We supply a cover plate to seal that joint from moisture.
Your completed cage
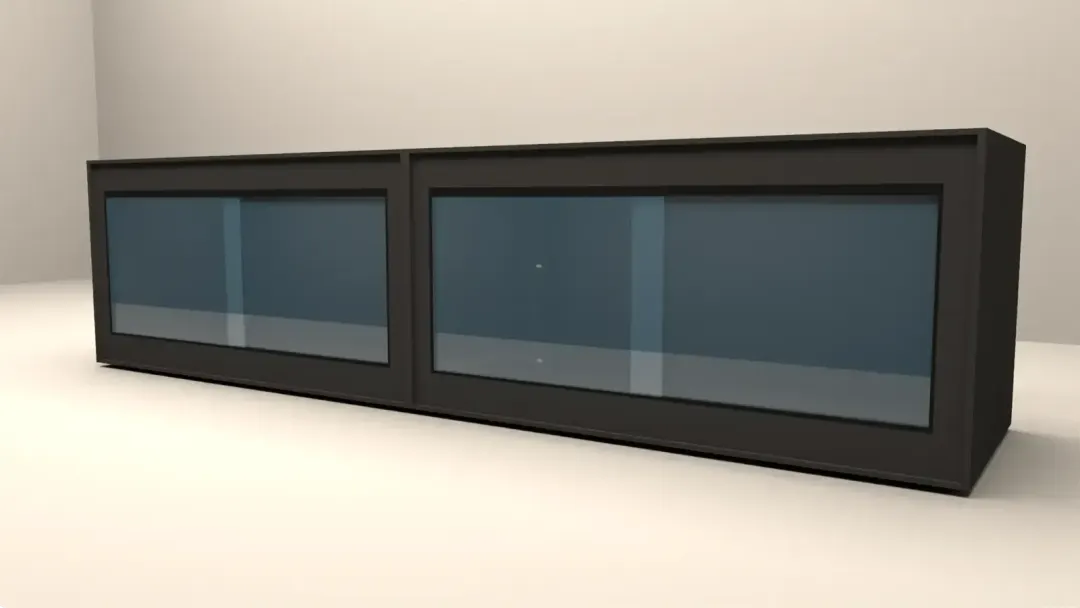
Now that the cage is assembled, you can reinstall the glass panels into the sliding glass tracks.
Starting from scratch?
Cornel's World
8' x 2' x 2' PVC Reptile Enclosure – Split or Full-Length PVC Cage
From $880.00
Made to order · 8 options
Stuck on a step?
If you have any trouble during assembly, we are always available by email at quotes@cornelsworld.com.