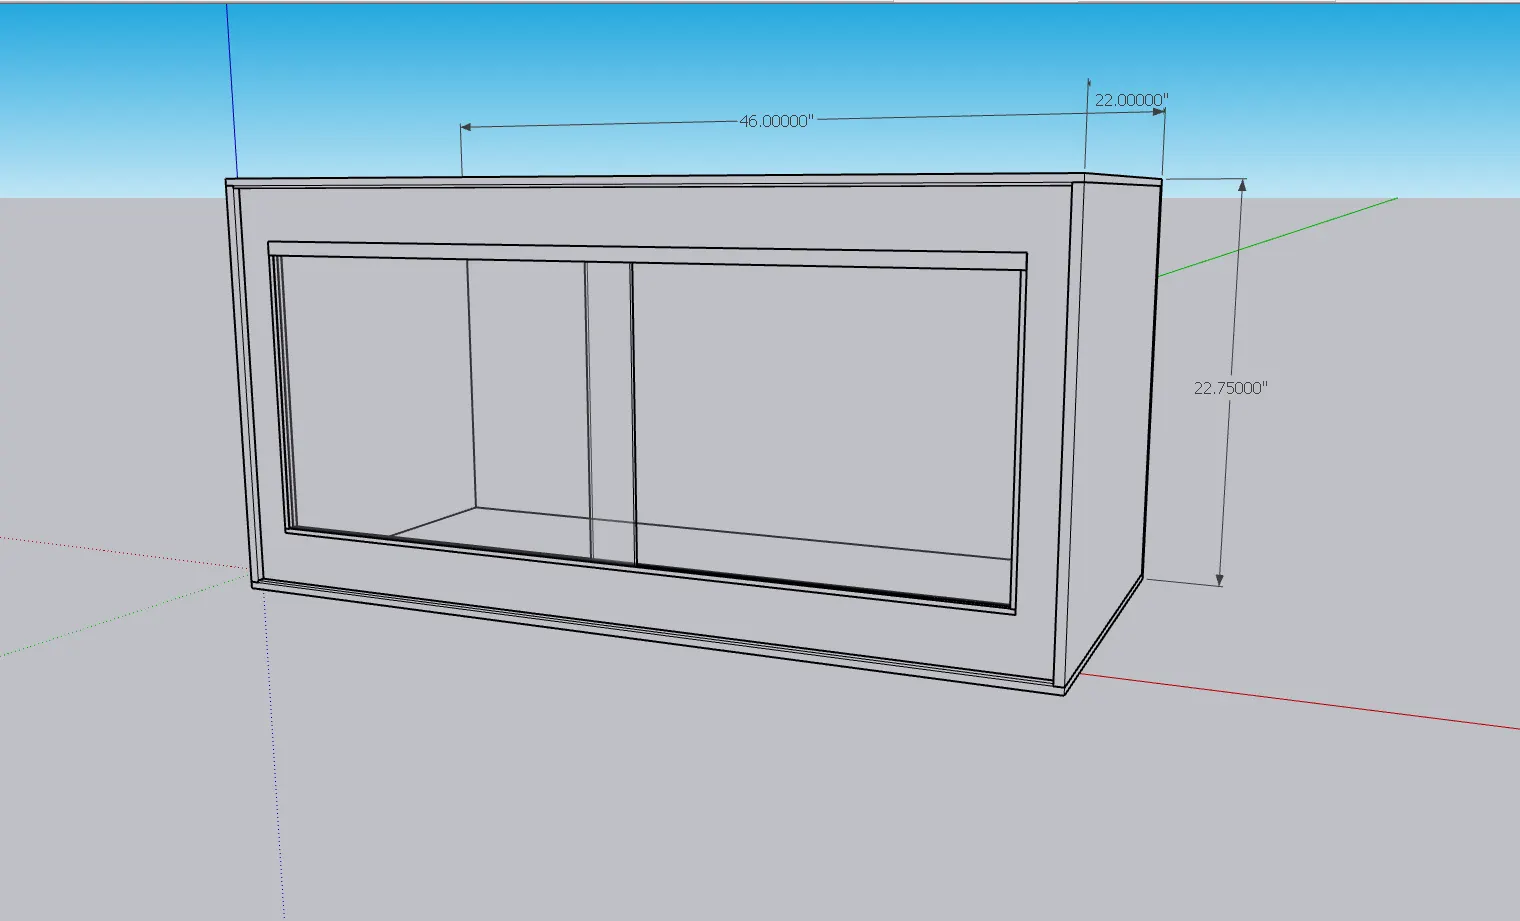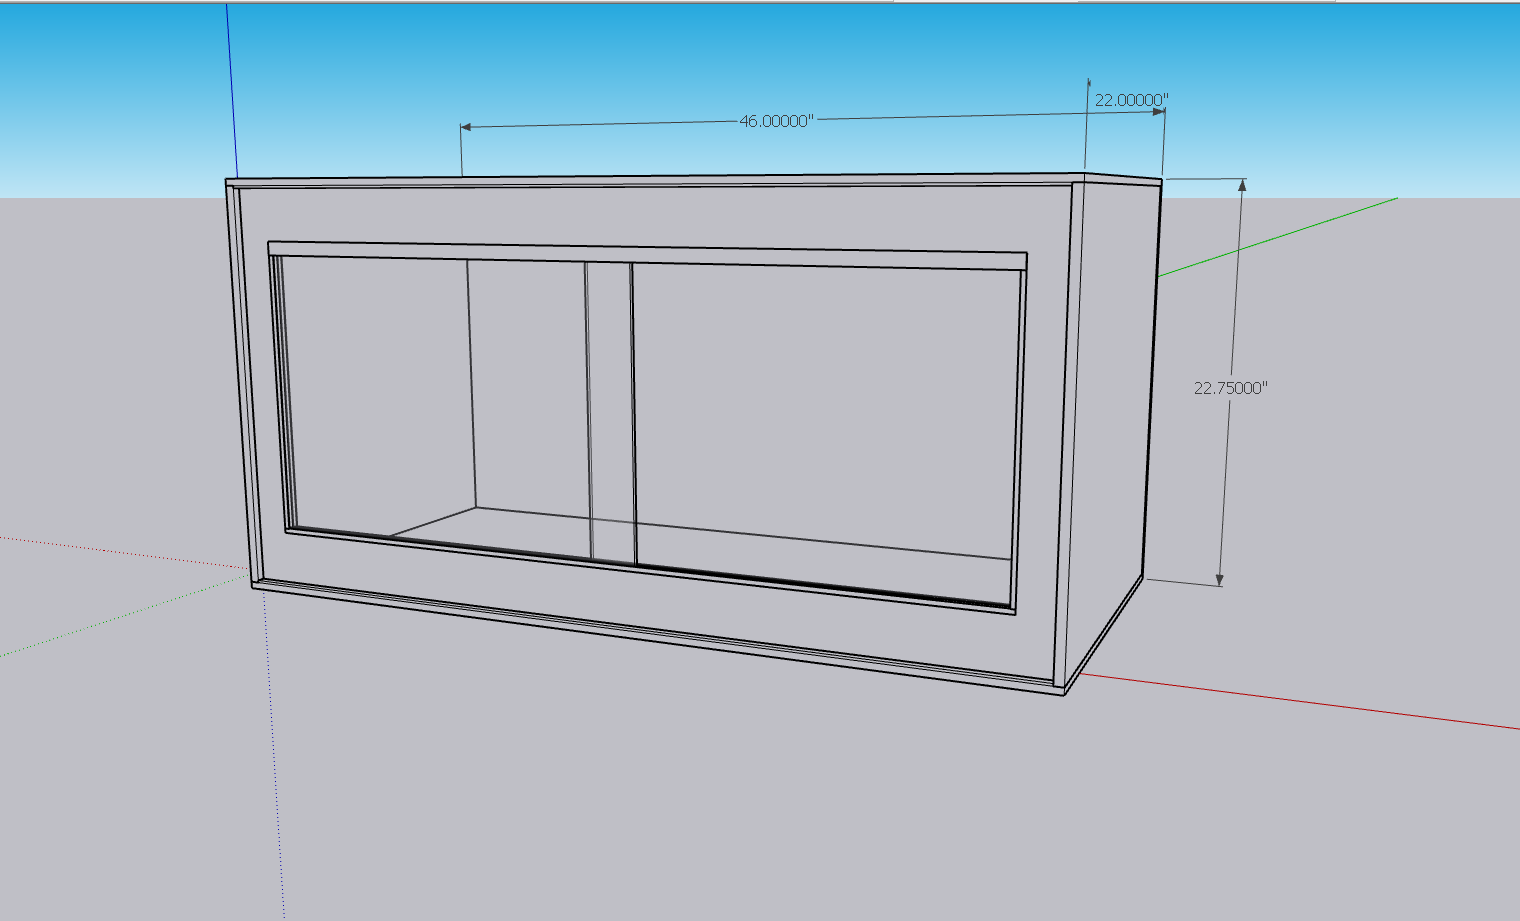
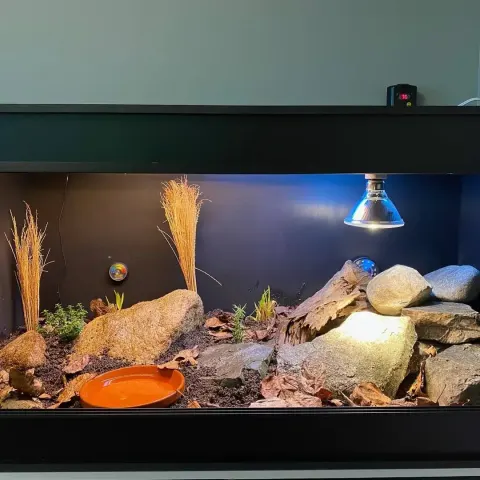

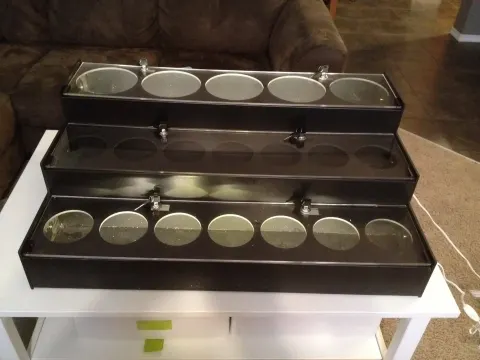

Sliding glass door models
Our cages are very easy to assemble and can be done with a screwdriver but a #1 Robertson drill bit and drill will make it much easier and faster. For dry enclosures you don’t need to seal the caging if you don’t want to but for humid environments you will need to seal the interior joints. We recommend Dynaflex 230 and you can purchase it on our site
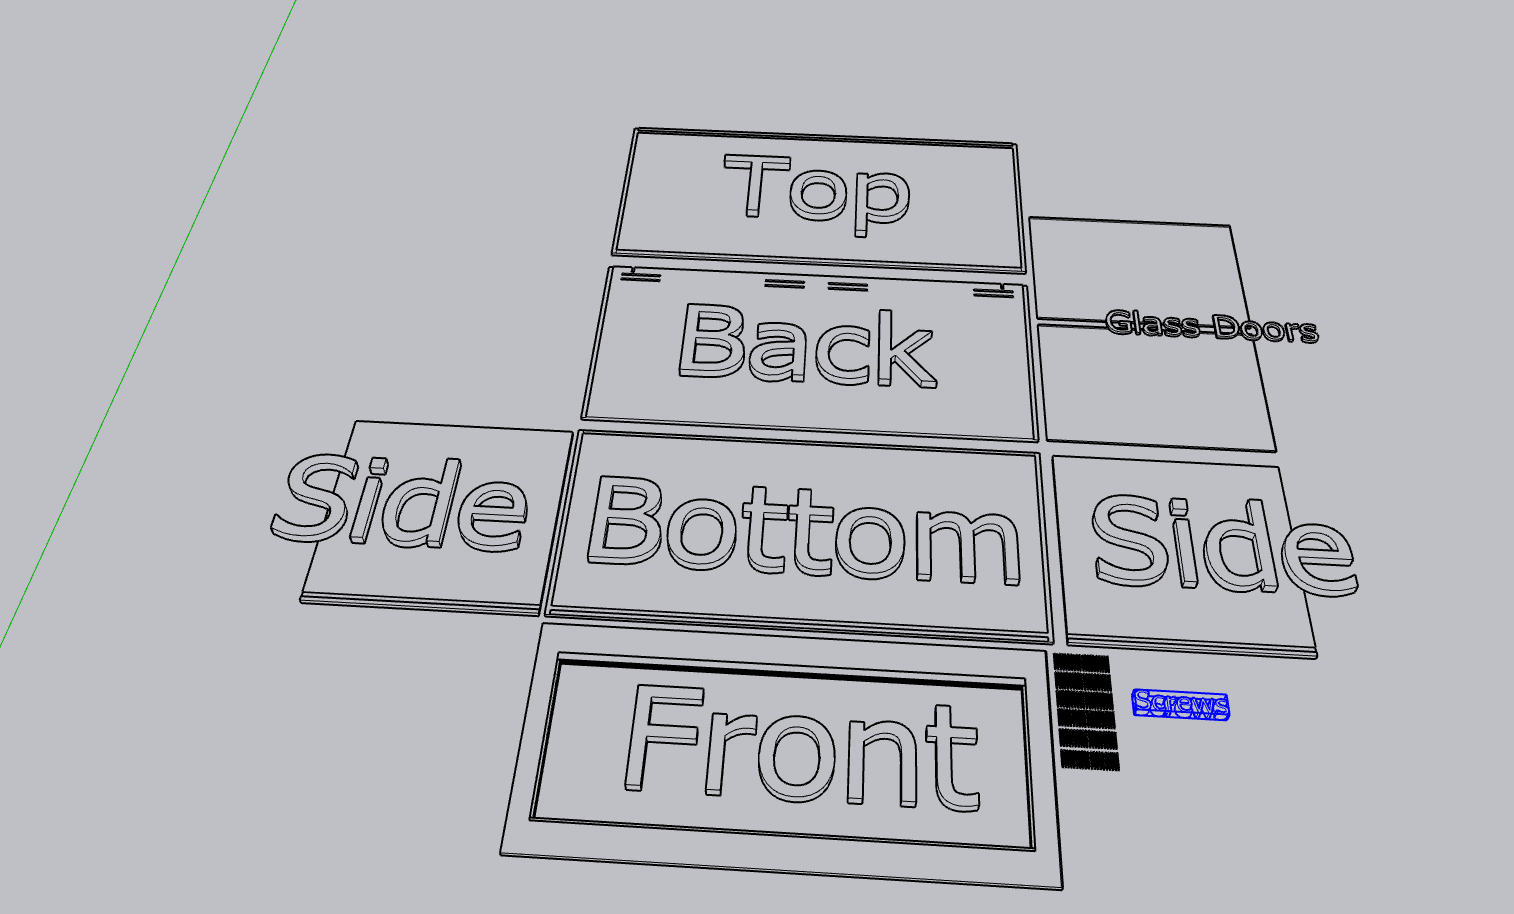
Parts included
Top panel
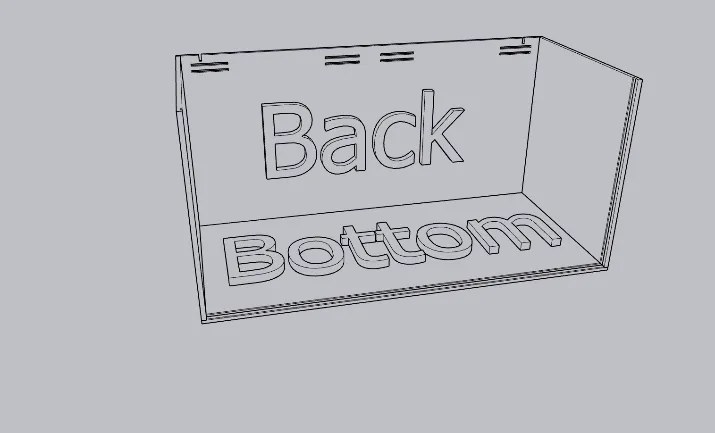
Bottom panel
2 sidewalls (interchangeable)
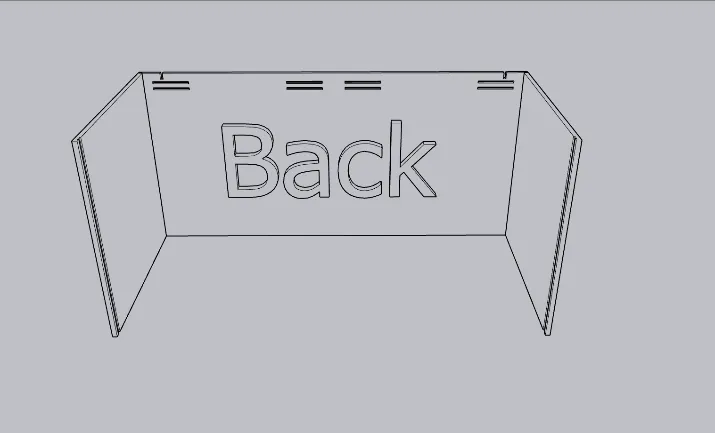
Back: vents and cord holes to the top
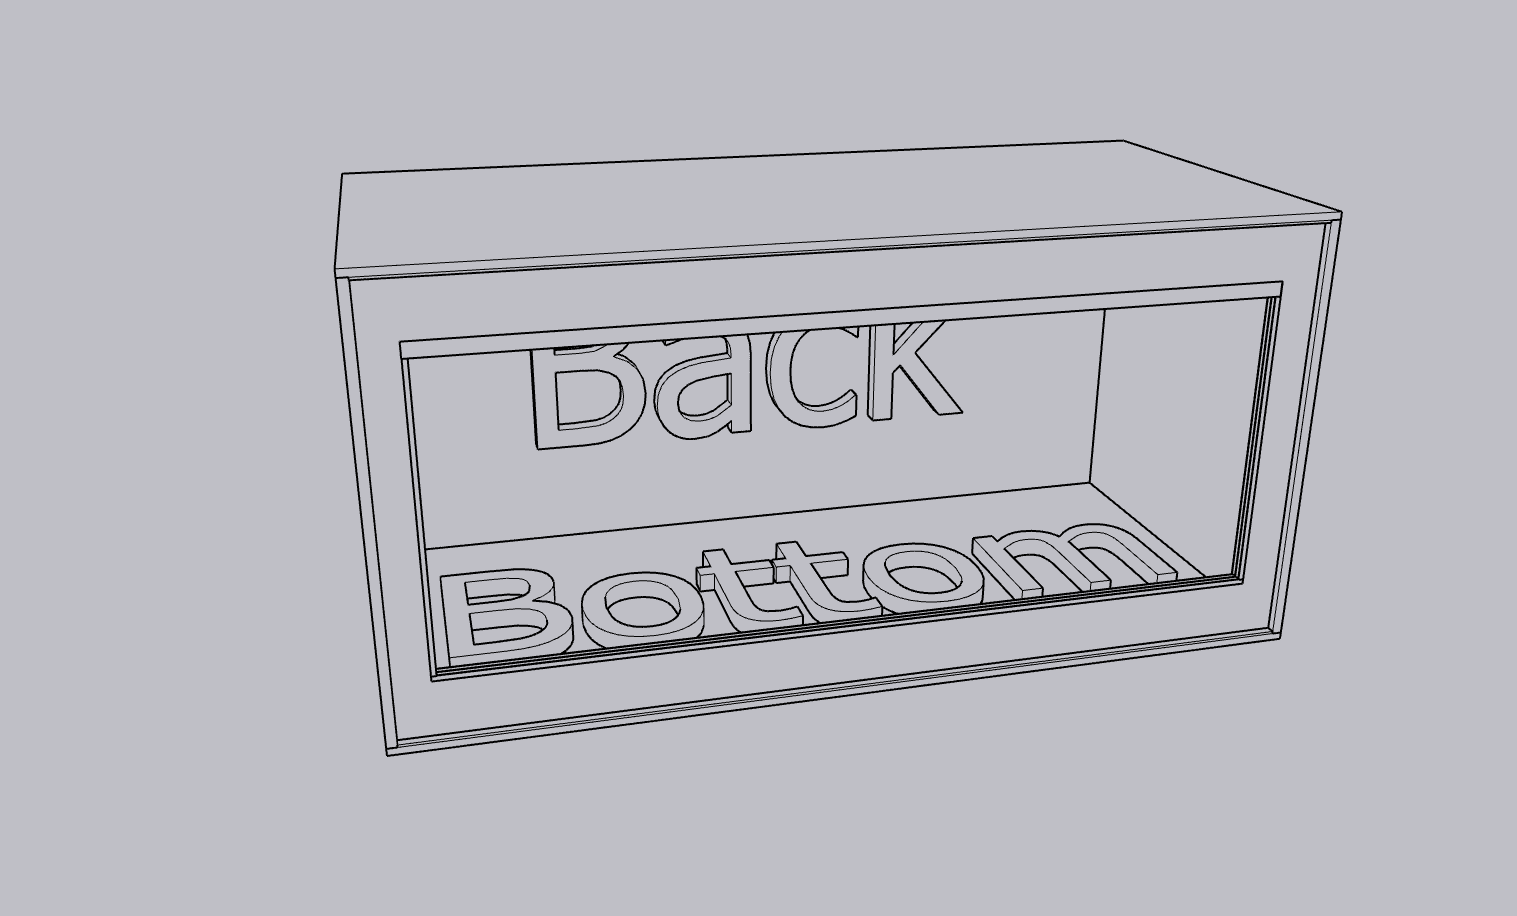
Front: thicker sliding glass track to the top
Screws
2 glass panels per unit
Items to note before assembly
Before starting to assemble it is best to assemble on a flat level surface.
Parts are grooved to make alignment easier.
Screw holes are only on the faces of parts.
Predrilling holes is not required in PVC.
Make sure when you are screwing in the screws that you are straight and level or the screw may come through a face. We are not held responsible if this happens.
All grooves in face of material face inside the cage.
PVC is somewhat soft so holes do not need to be countersunk before assembly.
Make sure to not drill the screws too fast or you could go all the way through the hole.
The screw head should be sunk in so the top of the screw is flush with the material surface
-
Step 1
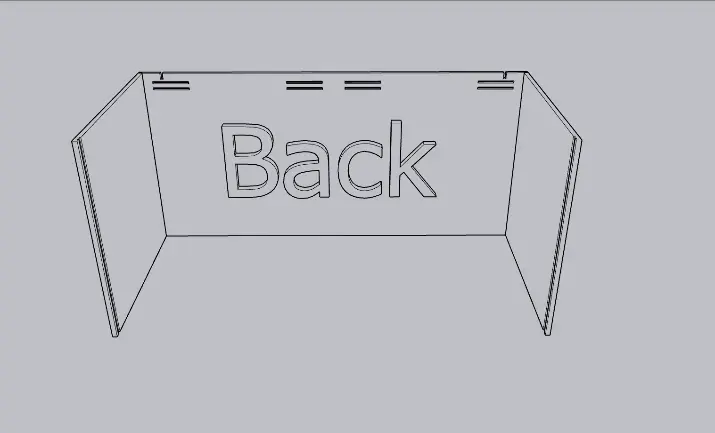
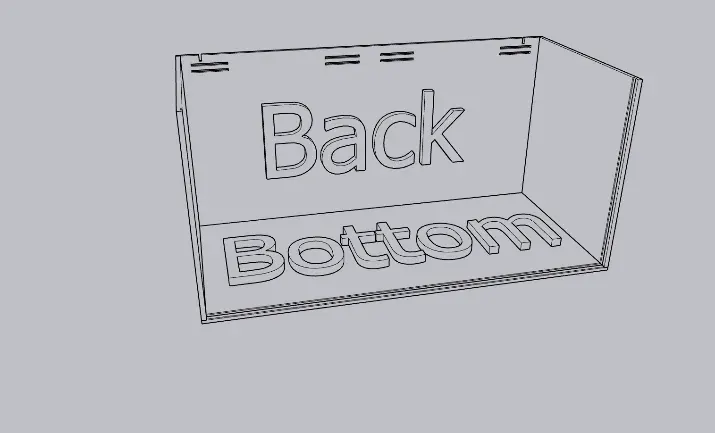
Line up back wall (Vents and cord access holes to the top) to the side walls. Line up sidewall with the outside edge of the back and hold at the top with 1 hand and adjust as needed. Put the top screw in, then adjust the alignment and then screw in the rest of the screws
-
Step 2
Flip cage on its top and install the bottom. Line up the front edge (Recessed groove) with the edges of the sidewalls and screw all the screws in the sidewalls adjusting the sides as needed to flush up the edges. Do the same to attach to the back wall. Once that is done you can flip the cage back over.
-
Step 3
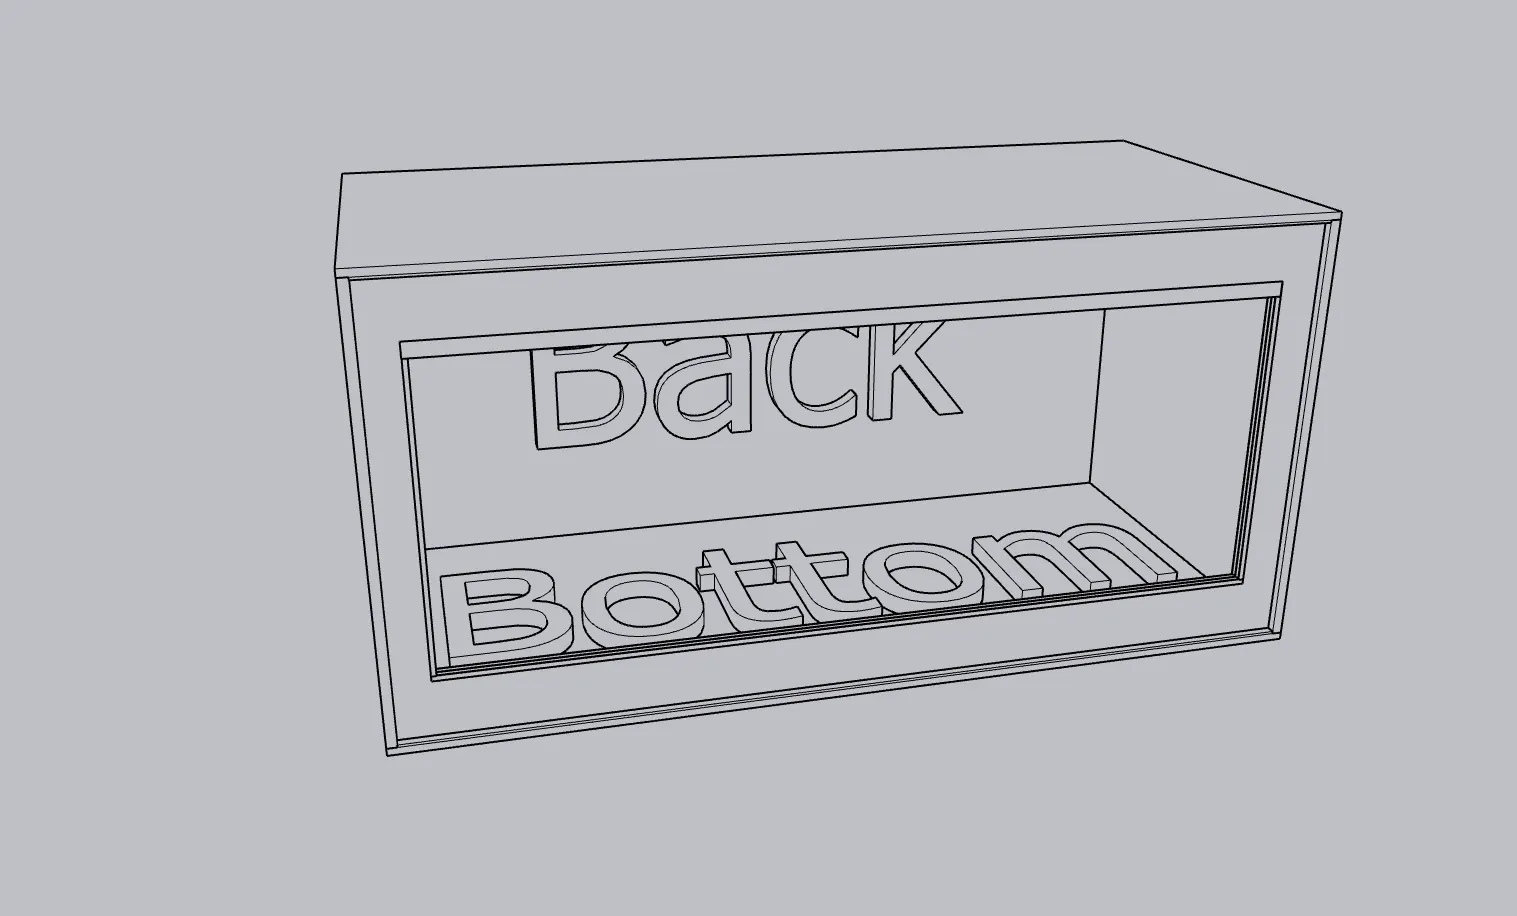
Once cage is flipped right side up slide the front into the grooves. The thicker sliding glass track will go towards the top. Once this is done the top of the front should be flush with the sidewalls height wise. If not you may have to adjust so the front seats into the bottom groove. Once this is flush, hold the front down so it stays flush and screw in the screws from the sidewalls. Once this is done slide the cage over the edge of your table and you can screw in the front from the bottom, or flip onto its back to do all the screws on the bottom front.
-
Step 4: Optional
Once the front is installed and screwed in place it is easiest to caulk the interior joints to seal. This is required for humid caging
-
Step 5
Install lighting to ceiling at this time. It is easier to do while the top is off. If you are supplying your own lighting make sure that your screws are wood screws and that the part that will go into the PVC will be less than ½” otherwise it will go through the top. We recommend securing any cords with zip ties and adhesive zip tie anchors. We can provide these for an additional cost if required.
-
Step 6
Install roof and install all screws to front, sides and back
To insert the glass panels you insert your first piece into the inner top track and then down into the inner bottom track. The second piece is done the same into the outer tracks.